
어제 주문했는데 벌써왔네요^^
혹연 배송지연시 사과문과 사용시 주의사항이 적혀있습니다. 약기는~~**

당연 썰렁하죠 물건이야~~
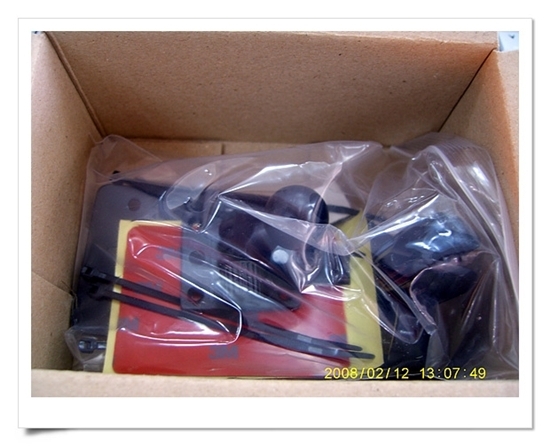
요만큼 들었습니다.
저렇게돼서 꼽히겠지요.
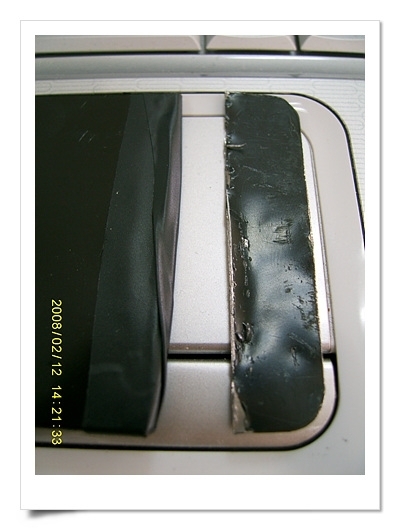
그러나...실측해보니 아무리 집어넣어도 저만큼이 남습니다.
그래서...잘랐습니다. 그리고 절연테이프로 대충 마감했습니다.
좀 지저분하죠? 쇠톱같은 장비도 없이 자르는데 쬠 힘들었습니다.
어짜피 버릴부분이고 보이지 않을 부분이니 상관없습니다.
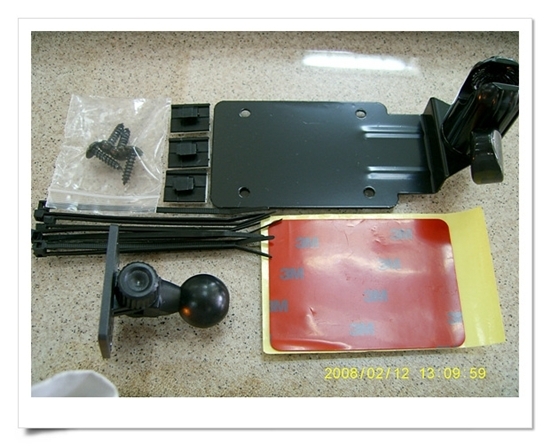
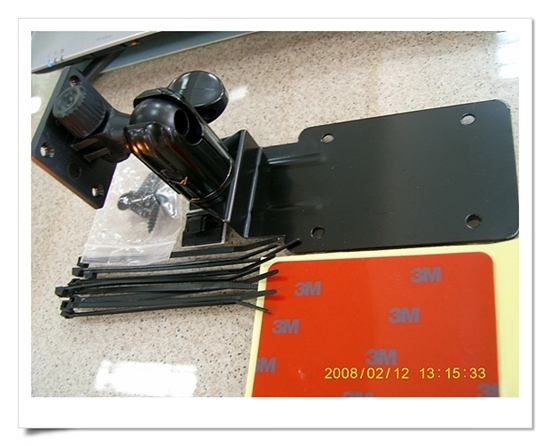
이제 3M을 필요한만큼 잘라서
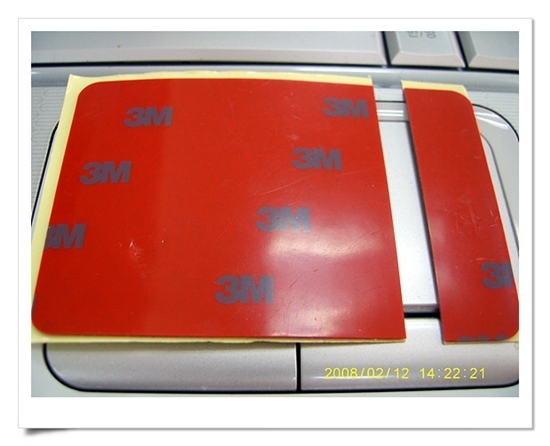
요부분에 붙히고 나머지는 적당히 붙히지요.
3M 붙히기 전에 차량 속으로 밀어넣어봤지만 어느 면에 3M을 붙히는 것이 나을지 판단못했습니다.
원래는 대쉬보드를 해체하고 작업하라는데...모 이거하는데 대쉬보드해체라뇨...차라리 안하고 말지...
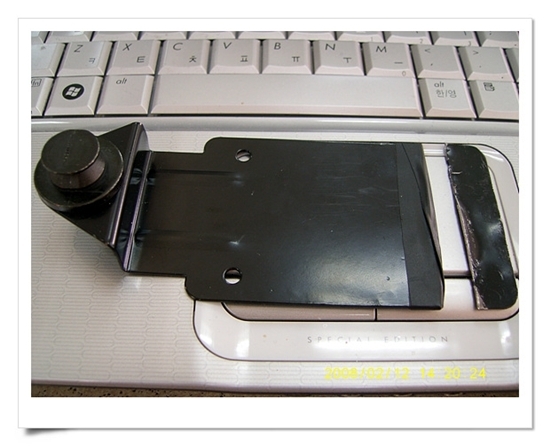
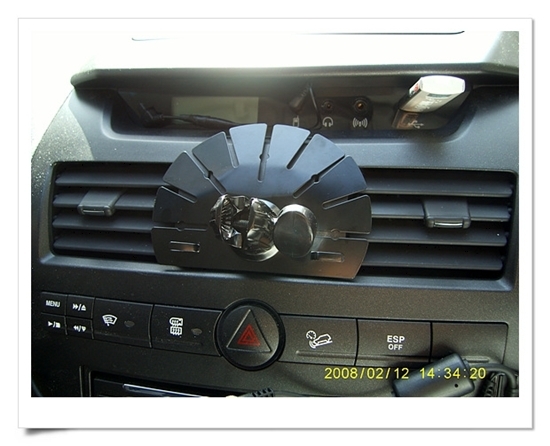
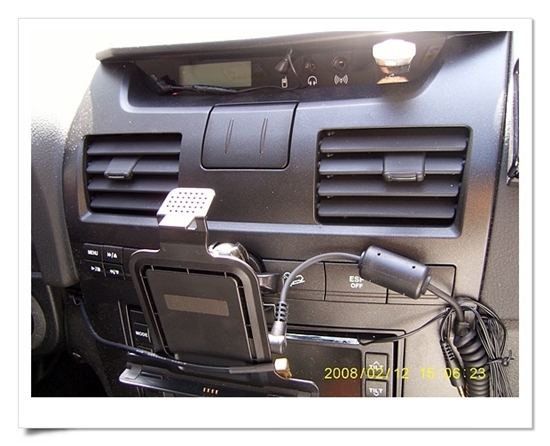
작업 전 모습입니다. 보이시죠?
송풍구와 휴대폰 보관함 완전히 가린거.
사실 대쉬보드가 일체형이라 어디 밀어넣을 틈이 하나도 없습니다.
정말 눈씻고 찾아봐도 넣을때가 없습니다.
전 중앙에 설치하지 측면은 싫습니다.
카드 꽂는 곳은 너비는 맞는데 너무 아래부분입니다.
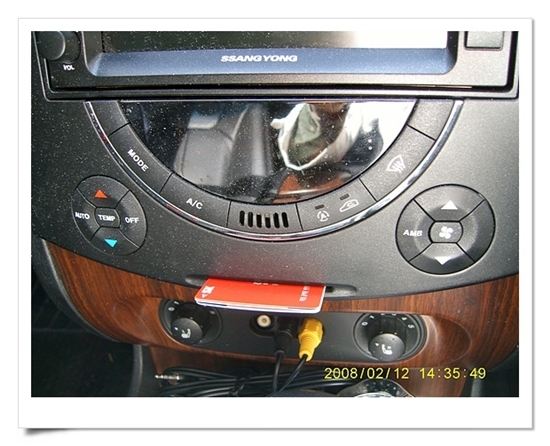
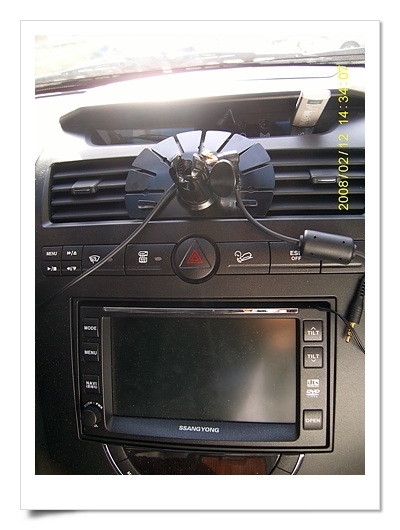
결국 이곳 밖에 없습니다. 어디냐구요?
매립네비 바로 위여~~
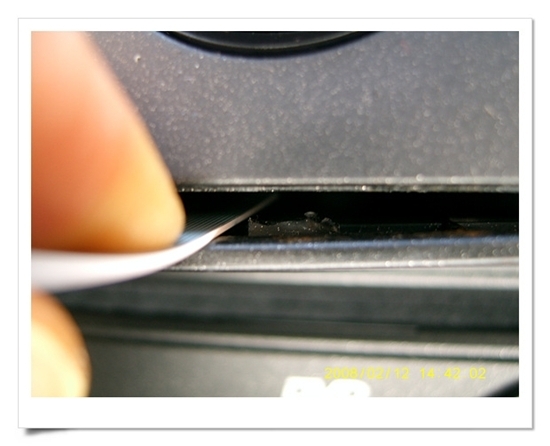
잘 보시면 보이는데...
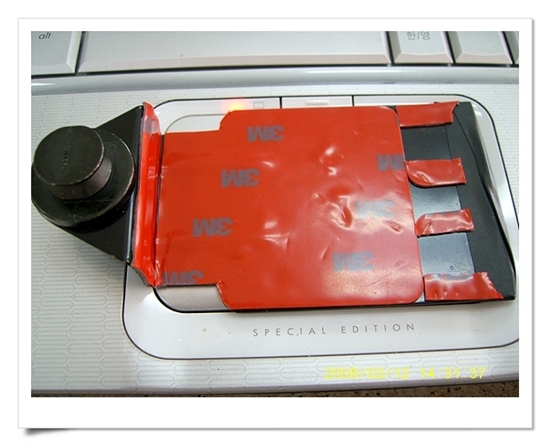
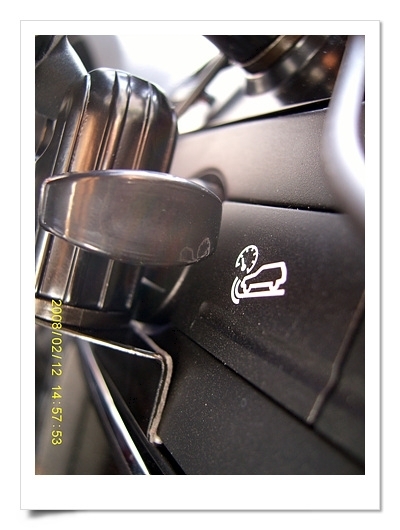
이 부분에 고정용 플라스틱 꼭지가 하나 있었는데...어쩔 수 없이 뿐질렀습니다.
이게 있으면 걸려서 들어가지가 않아서요. 별 상관없는 부분입니다.
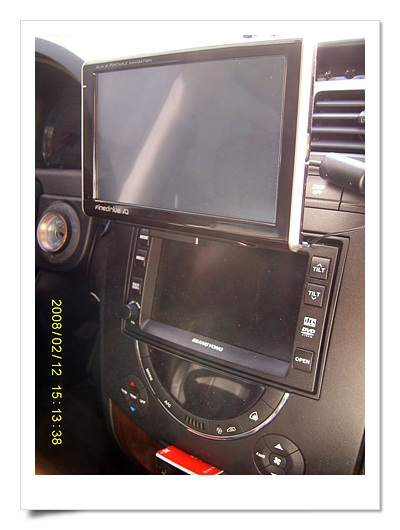
이게 완성된 모습입니다. 마치 삼각대를 받치고 있는 것 같죠?
비상등을 켜고 끄는데는 이상이 없습니다.
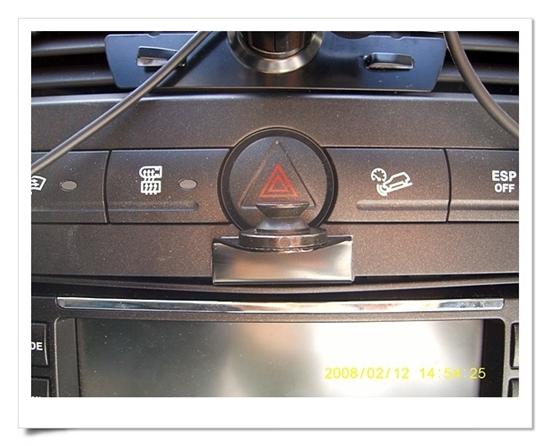
노브도 차량버튼에 닿을락~ 말락~ 하지만 닿지 않습니다.
IQ 거치대를 걸어본겁니다. 어때요? 괜찮나요?
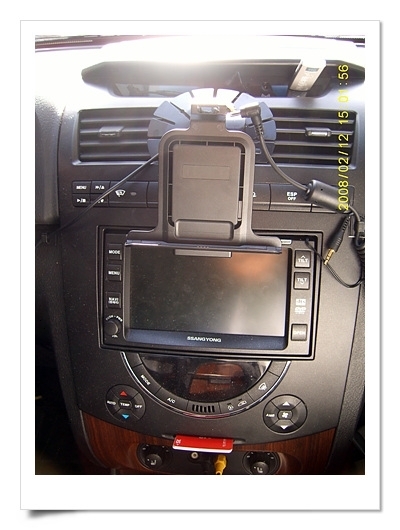
옆에 IQ 오디오아웃에 쓸 Tape Pack 선은 전원 용수철에 같이 묶어두었습니다.
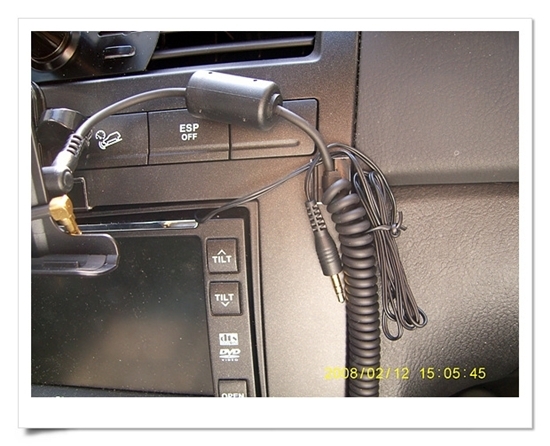
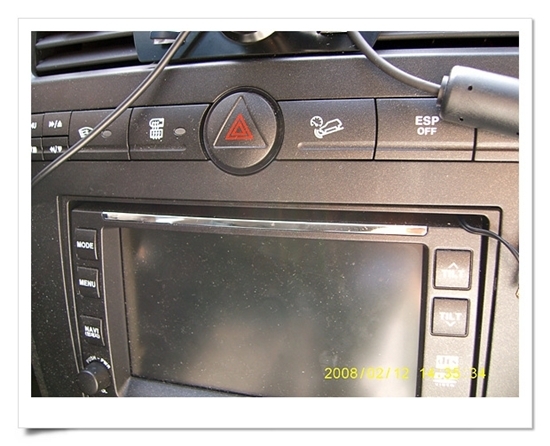
이제 오리발을 띄어냈습니다. 어때요? 이젠 시원하지 않습니까?
이젠 휴대폰도 넣고 냉/온풍도 맘대로...ㅋㅋ
여기에 이렇게 멀 넣어두어도 되는 곳이었는데...그 동안...

자~~ 이제 IQ를 걸었습니다. 한 1Cm만 더 높았어두 좋았을텐데...
머 이정도두 괜찮아요.
'▶ Navigation' 카테고리의 다른 글
관련글
-

-

-

-


댓글