
여러 방법으로 내비를 거치를 해 보던 중, 아래 젠더를 사용하는 방법이 가장 일반적인걸 알게 됐습니다.
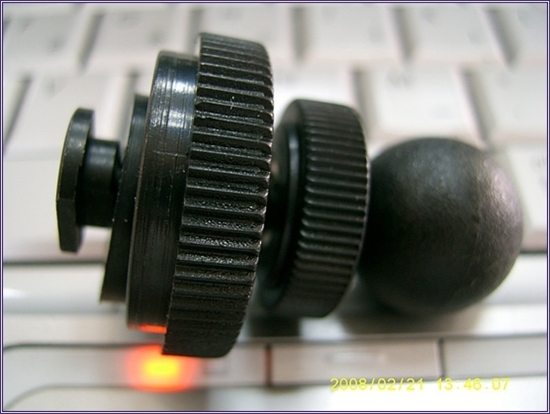
IQ는 나름 거치방법을 쓰기때문에 상기 젠더를 그냥 사용하기는 불가능합니다.
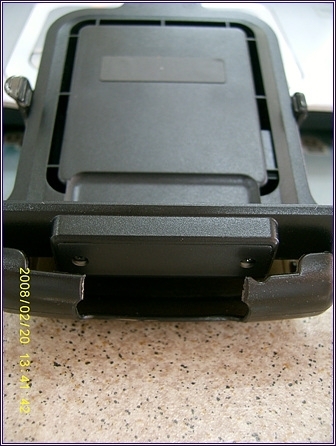
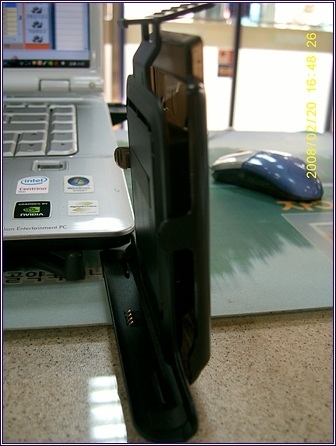
그래서 몇몇 싸이트에서 받은 답변과 검색을 통하여 아래와 같은 보조 레일을 붙혀보기로 했습니다.
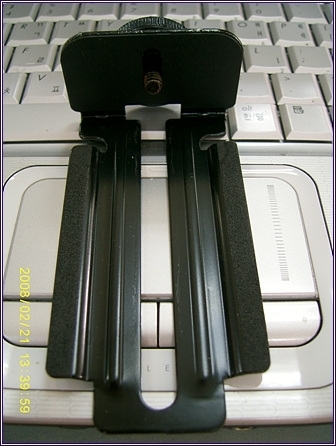
그런데 이 보조레일을 IQ 전용거치대에 그냥 붙히자니 추가장치 무게까지 견뎌내야할 접착단면이 절대적으로 적습니다.
해서 고민하던 끝에 아래와 같은 물건을 찾아냈습니다.
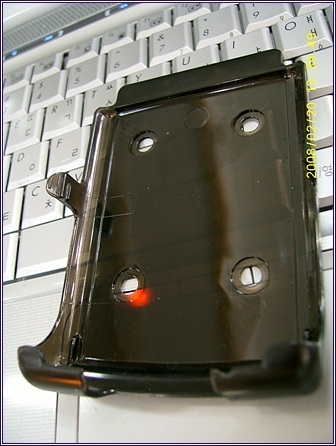
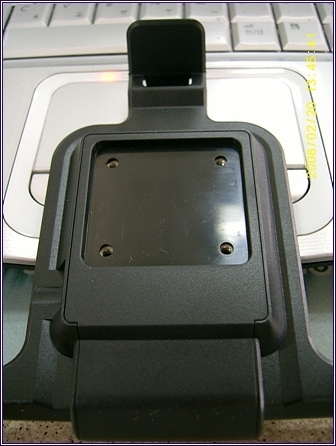
이건 2003년 발매된 삼성 최초의 PDA폰(일명 스마트폰) SCH-M400 케이스에서 뜯어낸 것입니다.
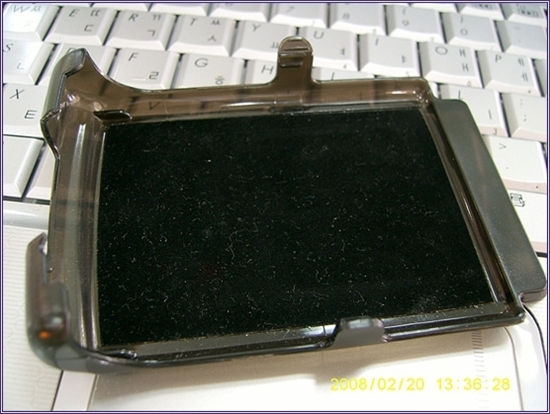
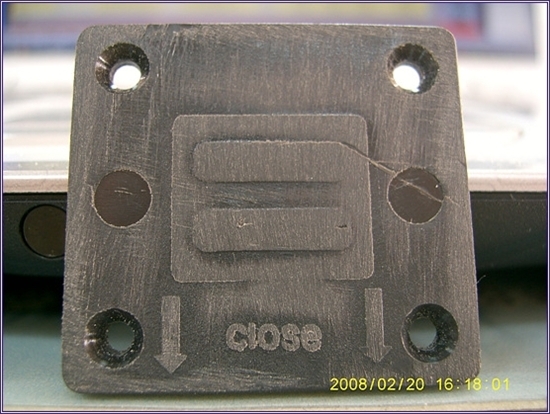
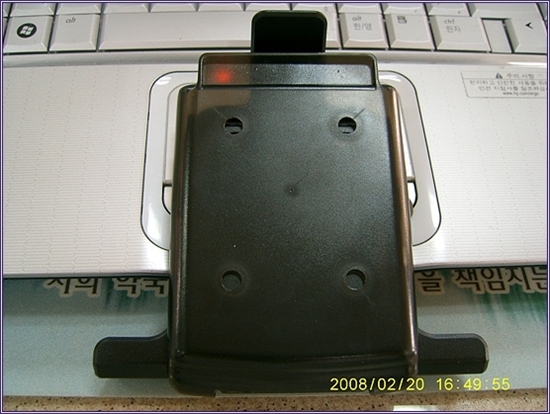
내부 융단을 걷어내면 이렇게 나신이 들어납니다. 이 구멍들은 원래 케이스에 고정시 나사들이 박혀있던 자리입니다.
대충 맞춰보니...신기하게도 안성맞춤입니다.

그래서 또 다시 거치대를 향한 불타는 제작열을 발산해보기로 합니다.
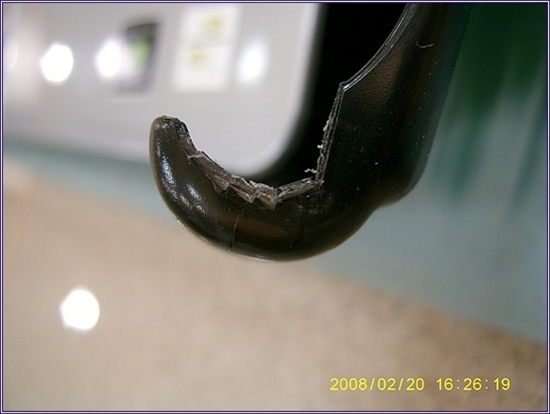
일단 몇개있는 동일한 젠더들 중 하나를 아작내기로 합니다.

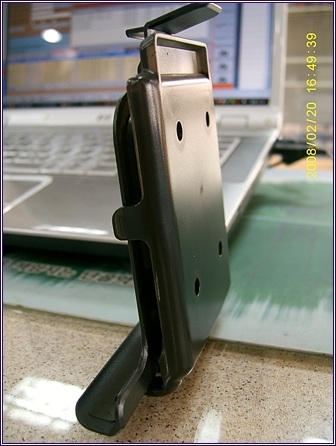
발 두개를 잘라내고 사포로 잘 밀어줍니다.
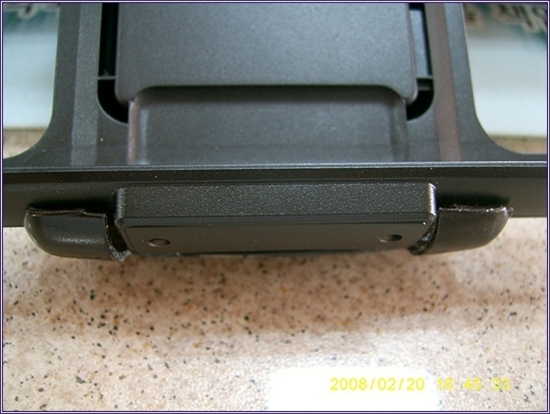
이건 IQ거치대에 맞추려고 케이스 일부분을 잘라준 겁니다.

보세요~~ 아주 잘 맞지 않습니까?
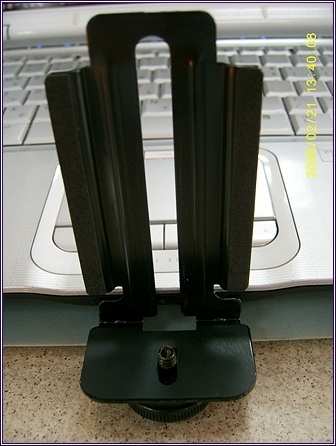
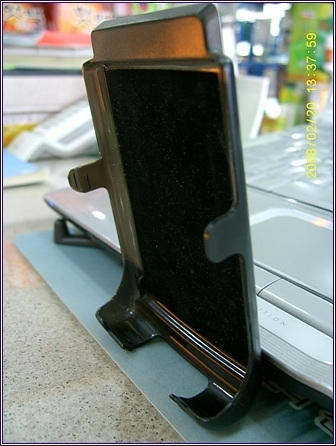
대충 이런 형태로 제작하려고 합니다.
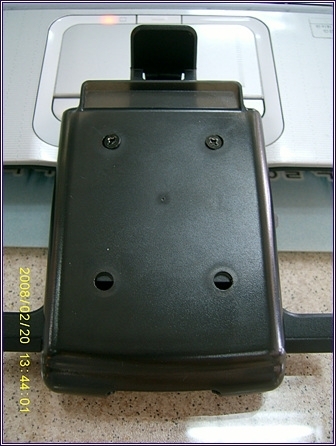
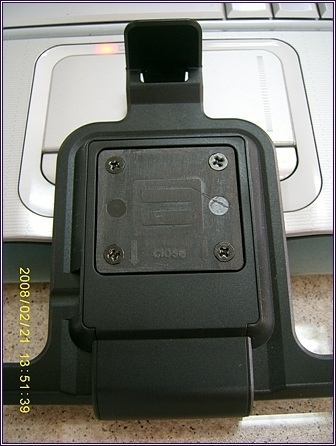
뒷면은 깔끔하죠?
먼저 원래있던 IQ 젠더를 풀어내고 민자가 된 젠더를 장착시켜준 후, 양면테이프를 붙힙니다.
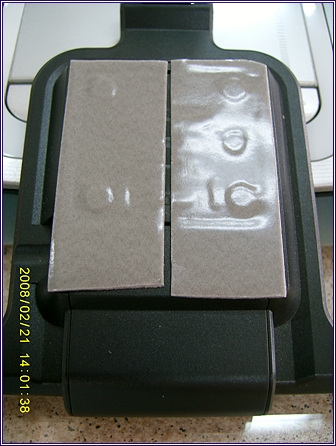
그리곤 그 위에 준비했던 케이스를 붙힙니다.

그리고 보조레일에 붙어있던 쿠션을 띄어내고 그자리에 역시 양면테이프를 붙혀줍니다.
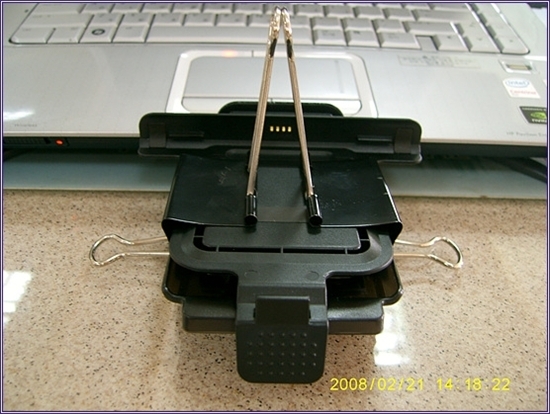
그리고 완벽한 접착을 위하여 대형 집게로 약 4~5시간동안 단단히 물려놓습니다.


잠깐 장난을 좀...무슨 SF 영화에 나오는 비행선 같죠?

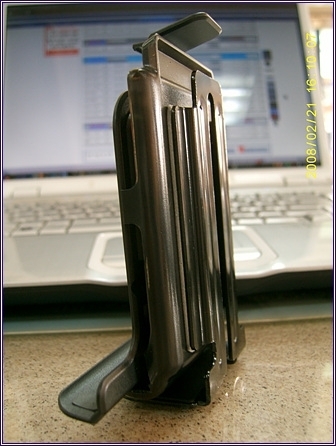
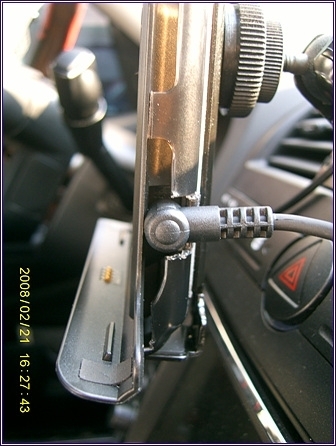
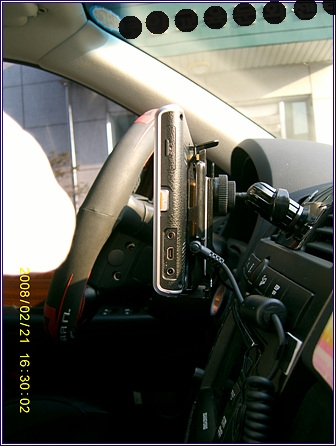
자~ 이제 완성된 모습 앞면과 뒷면입니다. 참고로 레일은 10Cm짜리입니다.


포스가 느껴지는 순간입니다.
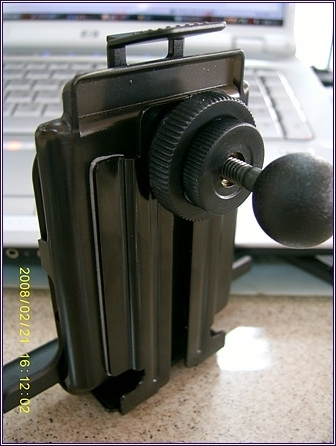
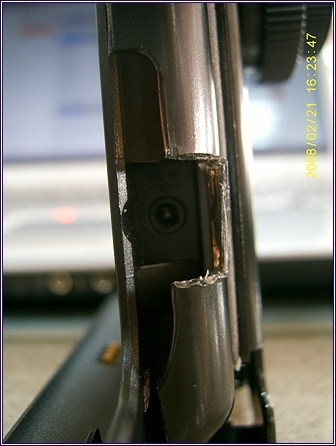
고정 위치는 홈끝단에서 약 1Cm 아래 지점입니다.
과연 얼마나 잘 고정될까가 관심사입니다.

IQ 전원부분도 요렇게 알맞게 도려냈습니다.
자~~ 이전 자물통 거치는 또 내동댕이쳐버리고 오리발거치대를 절단해서 송풍구도 안가리고
휴대폰 삽입구도 가리지 않게 했습니다.
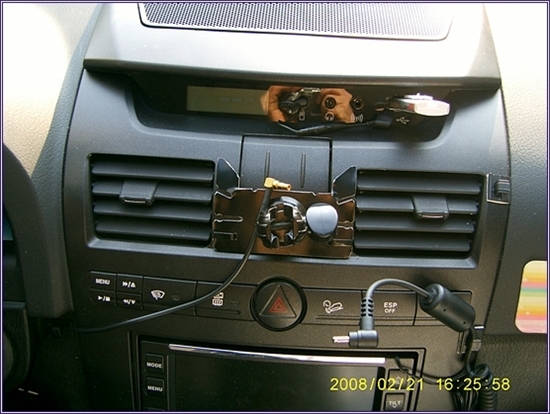
장착 완료됐습니다. 이따가 퇴근시 한번 보겠습니다. 또 바꿔야할지...ㅋㅋ

'▶ Navigation' 카테고리의 다른 글
관련글
-

-
-

-


댓글